
Lock Element
The Lock Element feature allows users with the appropriate permission to lock individual elements of an email — stripes, structures, and containers — so that other collaborators cannot modify them. Locking protects brand-critical areas (headers, footers, legal blocks) from accidental or unauthorized changes, while the rest of the template remains fully editable.
How It Works
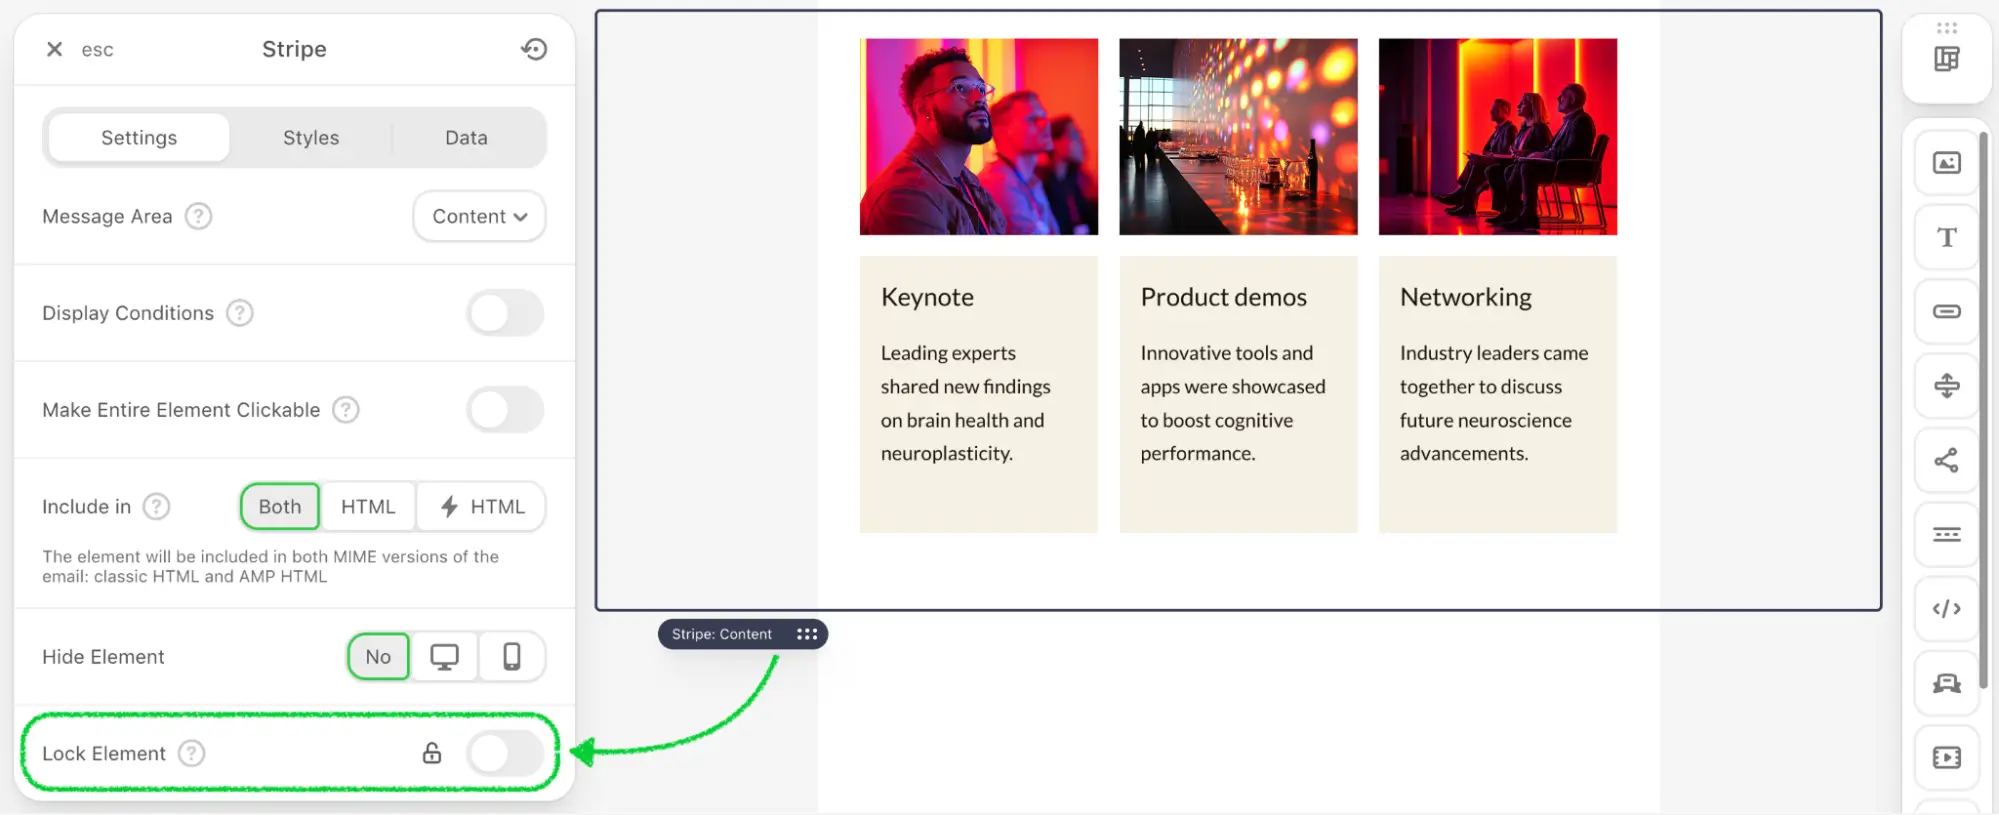
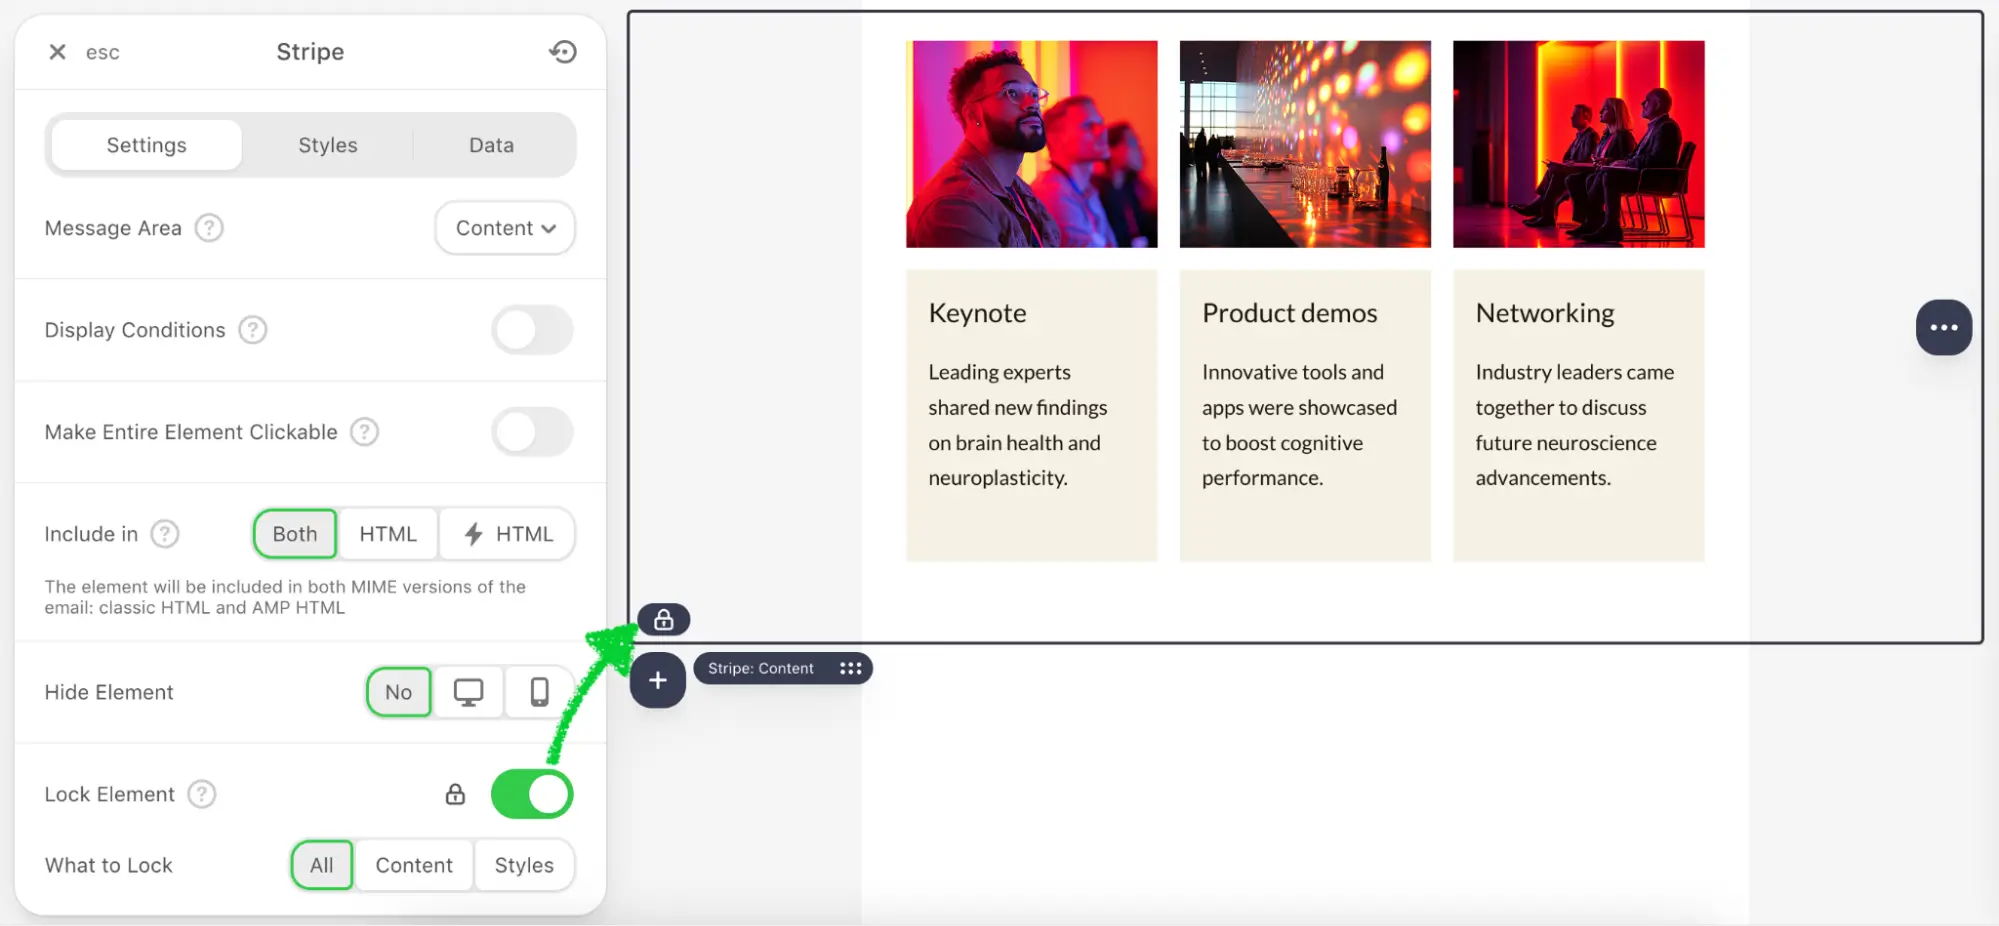
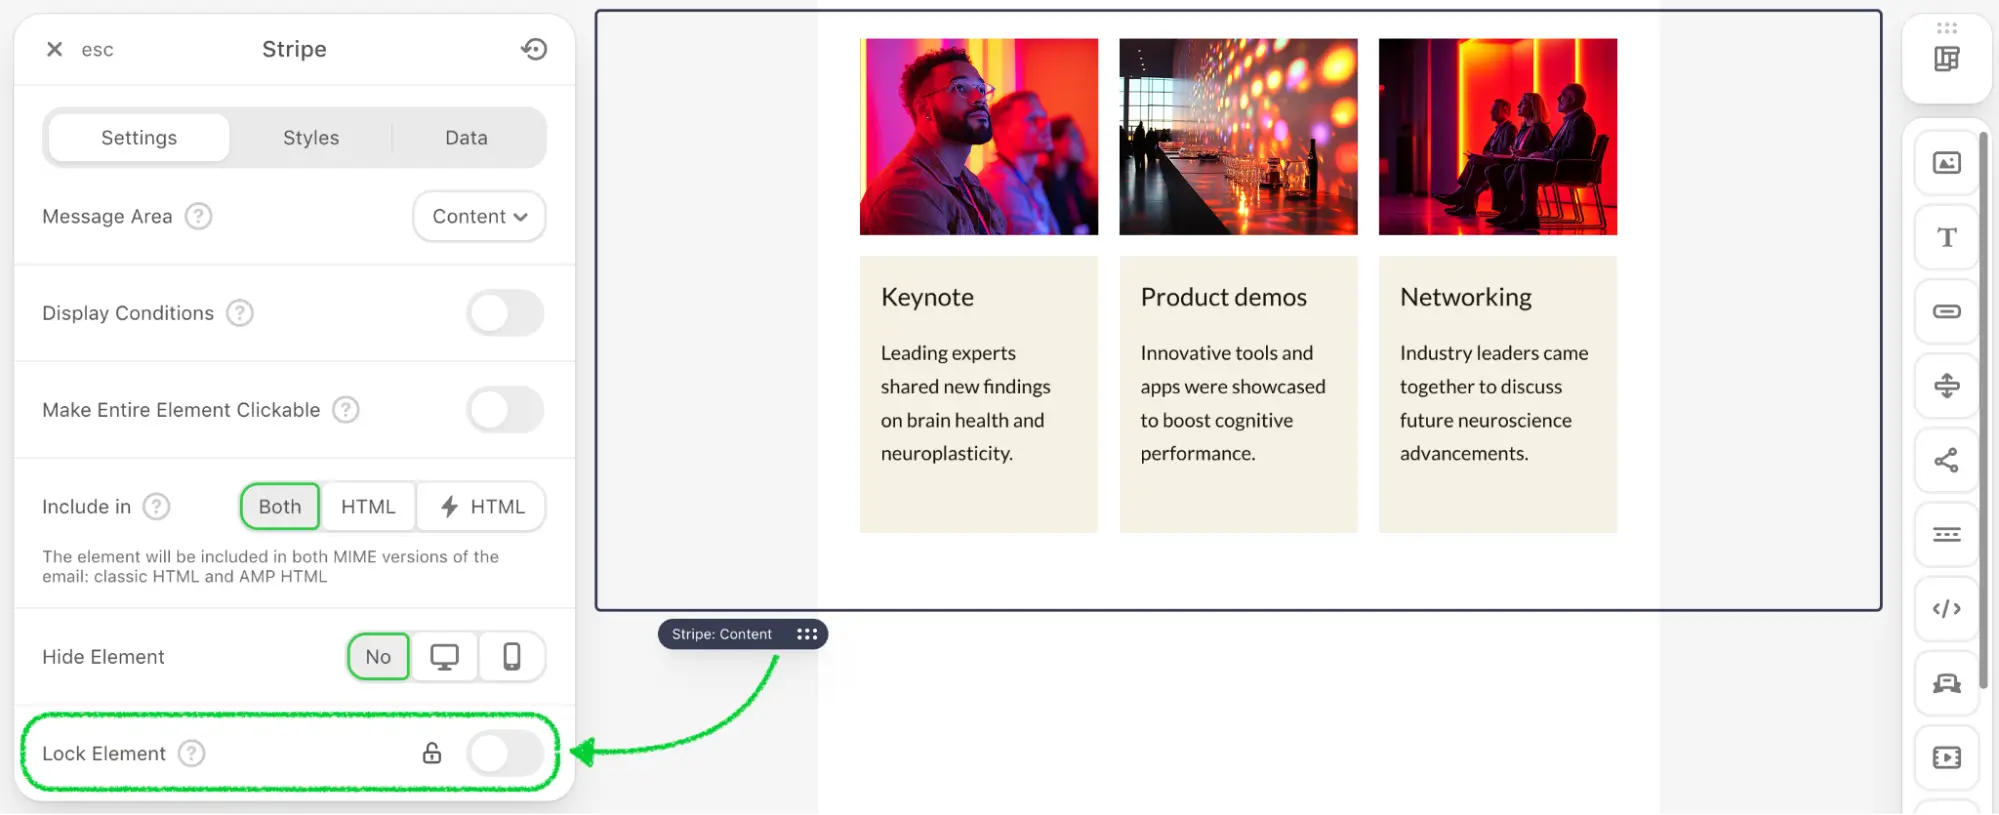
Users who are allowed to manage locks see the Lock Element control in the settings panel of a stripe, structure, or container. The control consists of the main lock toggle and two options that define what exactly is protected:
- Prevent content editing — the content of the element cannot be changed: inline text editing is disabled, and blocks inside the locked element cannot be added, removed, or rearranged.
- Prevent style editing — the appearance settings of the element (colors, spacing, borders, and other style controls) are disabled.
Locked elements are marked on the canvas with a lock icon and a highlighted frame, so every collaborator can immediately see which parts of the template are protected.
For users who are not allowed to manage locks:
- the Lock Element control is not shown in the settings panel of stripes, structures, and containers. The only exception: when such a user selects an element that is already locked, the control is displayed so the user can see that the element is protected — but its state cannot be changed;
- the settings controls of the locked element and its child elements are disabled, according to the selected lock options;
- inline editing of text inside a content-locked element is blocked.
Lock protection is also enforced on the server side: changes that modify a locked element are rejected for users without the corresponding permission. This keeps templates consistent even during real-time co-editing, when several users with different permission sets work on the same email.
The lock state travels together with the element. If a locked element is saved as a module or copied to another email, its lock configuration is preserved, and modules created from locked elements display a lock icon in the modules panel.
How to Activate
Lock Element is disabled in the Plugin by default and is controlled on two levels — both are required for lock management to be available:
1. Feature availability — the elementLockEnabled initialization parameter.
Pass the following parameter in the editor initialization config to make the feature available in your integration:
js
elementLockEnabled: trueWithout this parameter, the Lock Element control is not shown to any user, even if the elementsLock.write permission is granted.
2. Per-user access — the elementsLock permission, which your backend returns via the User Permissions API:
elementsLock.write: true— the user can lock and unlock elements, and can edit locked elements.elementsLock.write: false— the user cannot change the lock state of elements and cannot modify the locked content or styles of locked elements. The Lock Element control is hidden from the settings panel and appears only when the user selects an element that is already locked.
js
{
 "elementsLock": {
   "read": true,
   "write": true
 }
}
The elementsLock.read action is reserved for consistency with the permission model and currently has no effect on the editor behavior.
Disabling the feature hides only the lock management control. If the template already contains locked elements, those elements remain protected according to their lock settings — this ensures that protection configured earlier does not silently disappear.
Refer to the Permissions and Access Management section for implementation details.